Sunday, January 22, 2012

-this week-


Velveteen and Minky Blanket

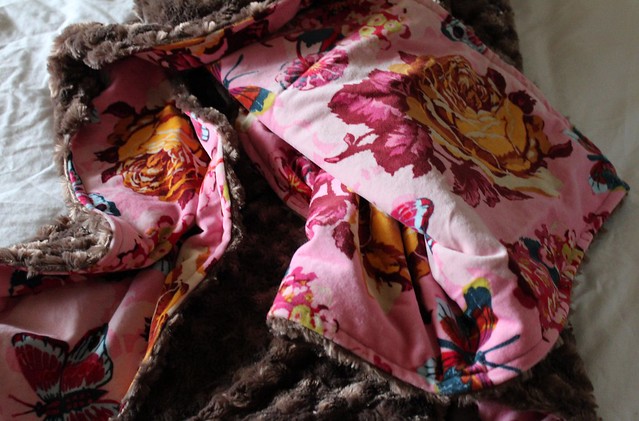
I made my first thing for new baby girl!  One of the softest, most luxurious blankets ever!  The pink floral is a velveteen by Anna Maria Horner.  The other side is a super soft minky.  I found it here at our local random fabric store.  It is a giant warehouse full of all sorts of interesting treasures and a whole lot of well, you know.... stuff you never want.  I found something similar over at Fabric.com.  I love making things like this.  Really isn't anything easier, and you get such a nice result!  I took it downstairs to show everyone, and Felicity immediately declared that she was freezing and needed a blanket.  Hmmmm....  I let her try it out. ;0)

Turning Twenty Quilt Basted!

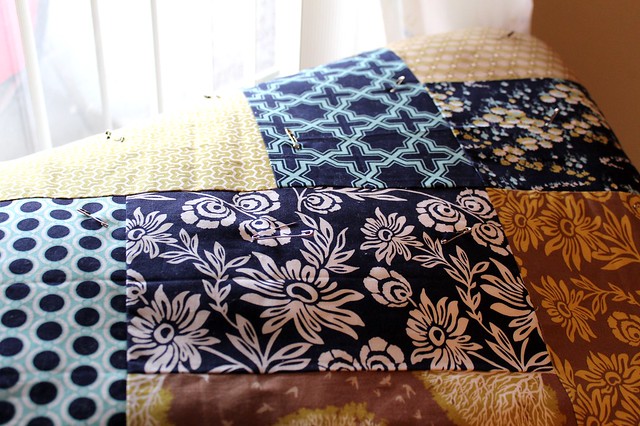
I also got out my Turning Twenty quilt top that I made last summer.  It is finally a quilt sandwich!  I went to my mom's house and basted it there, since I really didn't have a big uncarpeted open space to baste this.   I think I am going to keep the quilting simple and maybe just outline the blocks?  I plan to quilt it here and there.  It is such a big quilt that I don't want to burn out on it.


I also started a crochet pillow to go with the new bed quilt!  I have had this pattern pinned on Pinterest for awhile now, and I am excited for how these colors are coming together!

Hope you all have had a wonderful weekend!  


Wednesday, January 18, 2012

-cloud song floor pillow-

Cloud Song Floor Pillow

I finished another floor pillow!  Since Juliana claimed the last one, Felicity has been patiently waiting for hers.

Cloud Song Floor Pillow

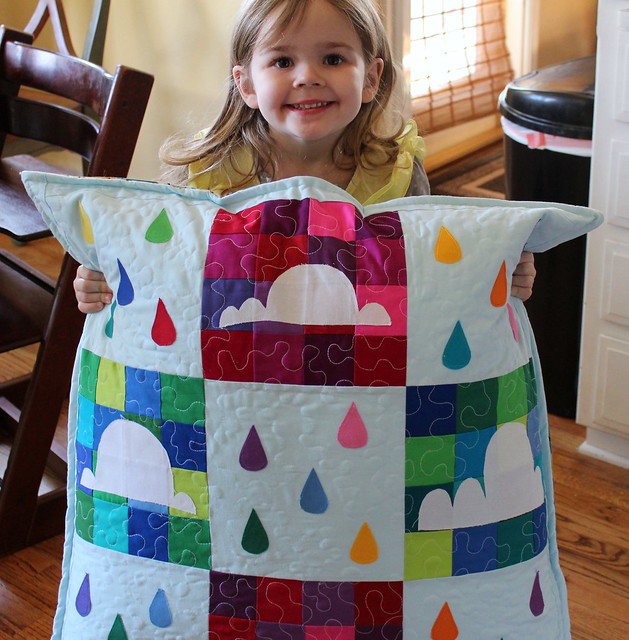
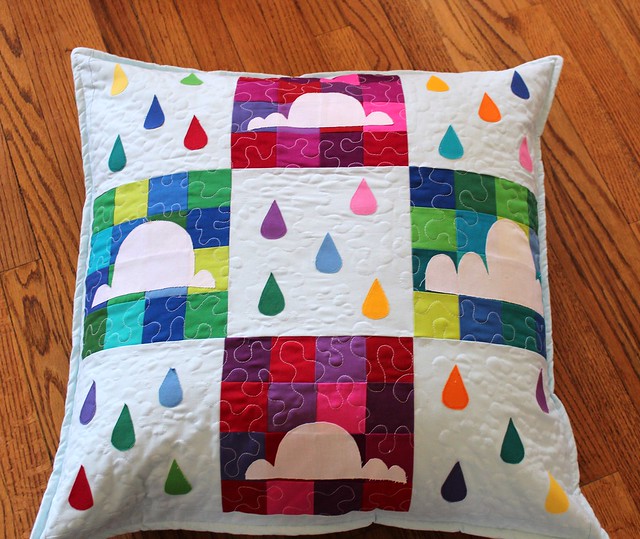
This one was inspired by a quilt in Little Bits Quilting.  I am addicted to crafty books almost as much as I am to fabric, and I got some good ones for Christmas!  This book has a lot of fun quilts made from precuts.  There are definitely a number of really great designs, and there is the cutest floor mat that I have on my "to make" list.

Cloud Song Floor Pillow

This pattern is simple, but I forgot how time consuming applique is.  Why do I always seem to block the "this will take a long time" parts out of my memory?! ;0)  It took 3 or so hours to cut out all the fusible web and to stitch all those cute little rainbow rain drops down.

Cloud Song Floor Pillow

However, the recipient was quite pleased, and she is using it right now to watch a movie!  So well worth the time!


Sunday, January 15, 2012

Want to swap?! How to get involved with modern online sewing and quilt swaps!


Inspirational mosaic I made for The Fab Little Quilt Swap

As I was putting together this mosaic I remembered that I had promised to write a little "how to" for online modern swaps for my local modern quilt guild.  There is no doubt that I love swapping.  I love the stalking of my partner, looking at all the inspirational mosaics, seeing pictures of fabric stacks, and wondering if that wonderful item could be for me!  

Swaps are starting back up like crazy since the Christmas season is over!


Sewing Machine Cover for the Urban Home Goods Swap

There are swaps done through Facebook, different crafty forums, blogs, and even Twitter.  However, if you are looking for modern sewing and quilting swaps- Flickr is where they are happening!  I think there is a good reason for this as well.  Flickr is a great place to post pictures and have discussions all within one group.  This allows for lots of inspiration, and there is definitely pressure (in a good way) to do your best.  No one wants to post a picture of something they made that no one will like!  Plus, it is easy to start discussions or ask questions, and I think this unites the group of swappers- making it easy to get to know each other. 


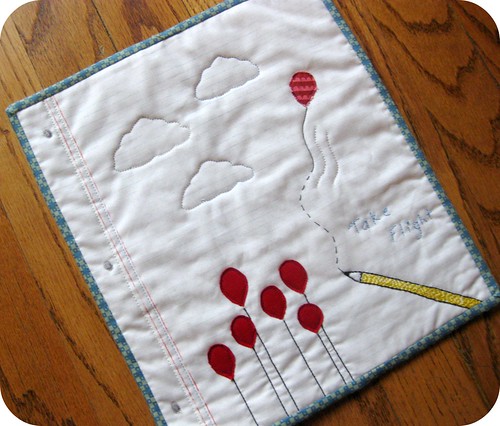
Mini Quilt for The Mini QT Swap

So, the first thing to do is get a Flickr account.  You can set up an account for free, and if you want to store unlimited photos and have less restrictions you can set up a Pro account which costs around $25 a year, but definitely start with a free account if you want to just test it out.  

Second, start uploading pictures of things you have made and favorite photos of things you love!  Each swap is run a little differently but most swaps will require that you have crafty photos and upload at least a couple of times a month.  This is both to ensure you do sew and/or quilt and to make sure you are an active member of the community.  It doesn't guarantee anything, but people want to know you aren't going to sign up for something and never show up again.

Third, find a swap you would like to join in!  When I first started swapping I found the swap through a blog.  I requested to join in.  After that I have either been invited through Flickr or I have found them through my other Flickr contacts.  (If you like certain things people make, you can make them your contact and always be able to see what their newest photos are!)

Also, be prepared to do a bit stalking.  Sign ups for most swaps are only for about a week- some of the popular ones fill up in a day or two!  So check in the group every once in a while to see when the next sign ups will be.

Here is a little list to get you started (This is definitely not all of them!):

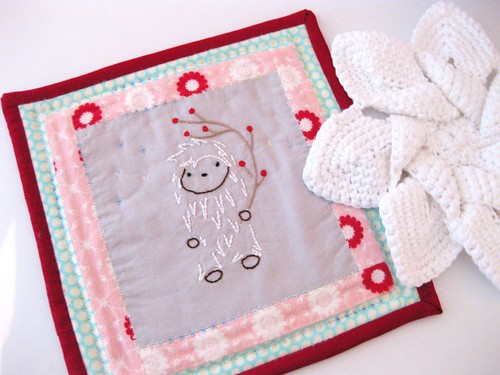
Potholder Pass- Potholders and other small items
Pretty Little Pouch Swap- Pouches, Clutches, and other little bags!
Urban Home Goods Swap- Items for the home
Goodie Bag Swap- Bags and Scraps
The Doll Quilt Swap- Doll Quilts
Mini QT Swap-  Mini Quilts
For The Love of Solids- Solids only!
Spicing Up The Kitchen- A Kitchen Item Swap!
A Little Fabric, A Little Chocolate- swap fat quarters, chocolate, and other goodies!


Convertible Bag for the Goodie Bag Swap


Reasons to Swap:

It is FUN!

You get to know all sorts of people who are just as crazy about sewing as you!

You get to plan and make something for someone who appreciates how much time and effort goes into the project!

Someone makes something just for you!

It pushes your creative talent!  
(I tried all sorts of techniques I never would have tried to make something just right for my partner.)


Spiderweb Pillow for The Pillow Talk Swap


Things to keep in mind before signing up:

Different swaps have different rules and ways of running.  Some you have to be accepted first before joining in and most have a set amount of people that they allow to sign up to keep it easier to manage.  If you get turned down or don't make it in that particular round, try another swap!  

Pay attention to the rules and make sure you can follow them.  Some expect a certain amount of participation.  Some have quick turnarounds, although most have a 6-8 week turnaround.  Also, make sure you aren't going to be on vacation when it is expected for you to ship your item!  Be prepared to ship internationally for some swaps.

Be open about what you receive in the swap!  I can honestly say I have almost always received lovely, lovely packages.  I think maybe there was one time I was a little disappointed, but I know my partner had tried hard.  When you sign up for a swap there is usually a place for you to list things that you both love and hate.  Plus, most swaps encourage you to make a mosaic of things you like.  You can make a mosaic using Big Huge Lab's Mosaic Maker.  However, each person is going to interpret things differently, and you are participating in a swap of handmade things!  It isn't going to be perfect.  If you want something very precise, well...*cough* make it yourself!  Part of the fun is seeing what other people come up with!


Christmas Mug Rug for The Scrappy Mug Rug Swap

I hope this is helpful!  

If you have any other questions about swapping, please leave me a comment.  

If you are a swapper yourself, and have some more tips, please share!


Wednesday, January 11, 2012

-getting organized!-

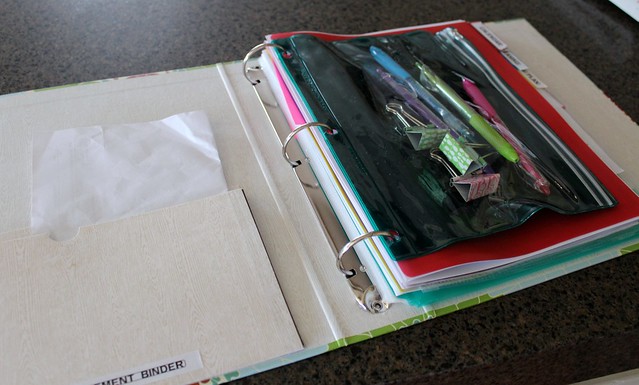
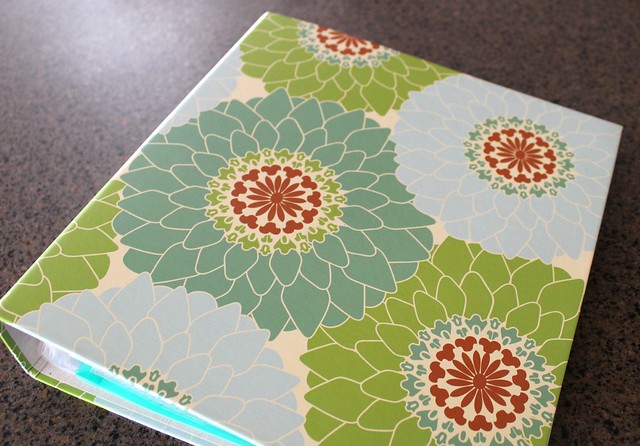
Getting Organized! Home Management Binder

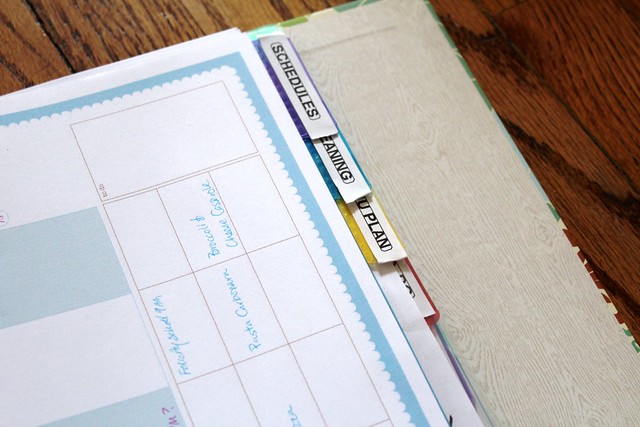
There is nothing like the new year to get me inspired about getting organized.  Real "regular" life started again for us this week.  Thankfully, all the sickness that has been going around the past six weeks now just seems like stuffy noses for Josiah and I.  Last Thursday I got the urge for a new planner.  I wanted an Erin Condren life planner, but $50 was just sooo much money!  I was kicking myself for not getting some of the deals I saw back in the fall.  So I started searching around for another idea and came across The Home Management Binder over at A Bowl Full of Lemons.

Getting Organized! Home Management Binder

I became obsessed with the idea!  I rushed out to the store the next day to get all the supplies I needed and made it that afternoon!  I think the thing I was most excited about getting was the label maker.  I have always wanted a label maker since I was a kid, and I decided it was time to indulge and buy myself one. ;0)

Getting Organized! Home Management Binder

I followed the directions for the most part in making mine.  However, the printables she recommends you have to buy, and they looked great.  However, trying to keep the cost down I searched for some free printables and really there is a lot of there!  What I really like about this idea is that you can make it as complex or as simple as you would like.  I added a crafting section to help me keep my projects organized, and I left off certain sections that didn't really apply to my life.  Plus, it is so easy to add or subtract if you decide you need something a little different!

Do you do something like this?  Any tips or thoughts you have on using one?

Here is to a more organized 2012!


Saturday, January 7, 2012

-I have been crocheting-


My husband and I were lucky enough to get a little vacation for a few days this week for our anniversary.  It was so lovely to get a way for a bit with no kiddos.  We spent time hiking, shopping, eating, and relaxing all.by.ourselves!  


I haven't been spending as much time behind the sewing machine of late, but I have done quite a bit of crochet over the past month.  I finished this cowl for my mother-in-law for Christmas.  This was a super quick project.  It is called the Sedge Stitch Cowl, and you can find the tutorial over at The Aesthetic Nest.


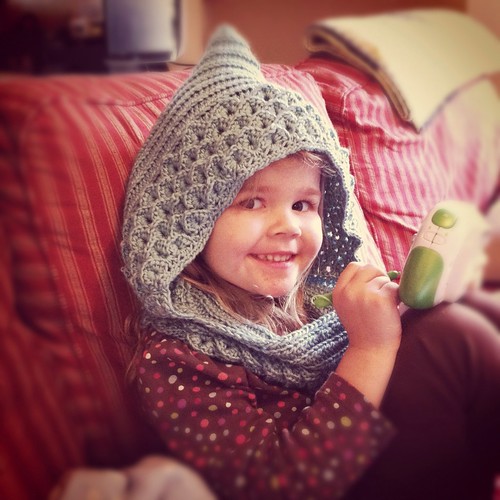
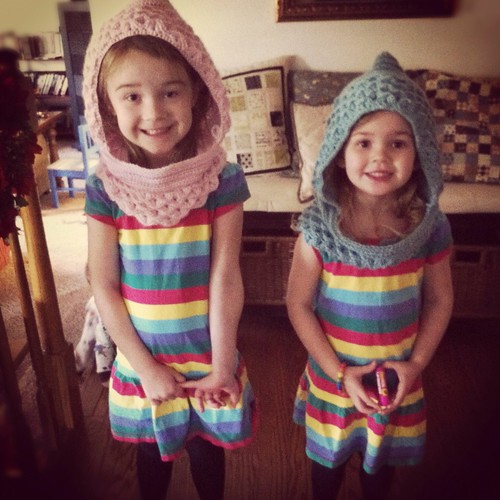
I also finished Felicity's hoodie.  I used a bamboo blend yarn for hers at it is so soft and silky to touch.


So now the girls have matching hoodies.  This is the outfit they chose to wear together to go shopping with Daddy.  My husband said he felt like he was taking two little Fancy Nancy's to Home Depot. ;0)


Today I finished a Calm Cowl for myself.  I live the simplicity and versatility of this cowl.  You can wear it long or short.  You can find the pattern for this one over at Ravelry. I have some extra yarn left over, so now I am thinking a slouchy hat to go with?


Sunday, January 1, 2012

Last Finish of 2011!

Rainbow Improv Floor Pillow

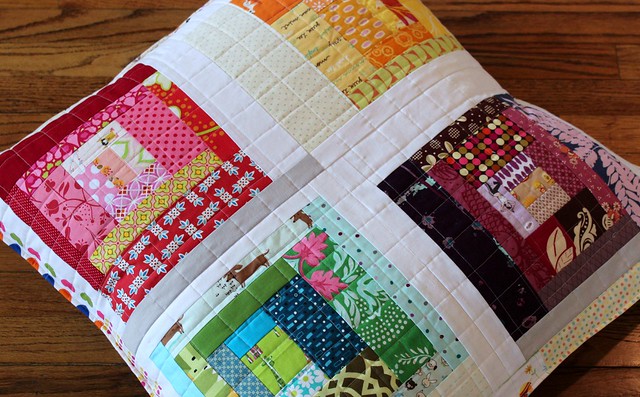
This was the last thing I finished!  I cut this pillow out on Thursday, sewed the blocks and top together Friday, and quilted and made it into a pillow yesterday!  I had so much fun making this gigantic pillow.  The blocks are actually not improv improv. ;0)  I used block patterns from Scrap Republic.  I loved this book and wanted to use it right away.  I knew I didn't have any reason for starting another quilt when I already have four others in progress, but I was inspired by Svetlana's pillow.  

I had wanted to make the kids some big pillows for reading for Christmas, but the first part of December didn't go my way.  I wanted to enjoy making them and not have them be stressful projects.  I am so glad I waited because I felt nice to sit back and really enjoy making this.

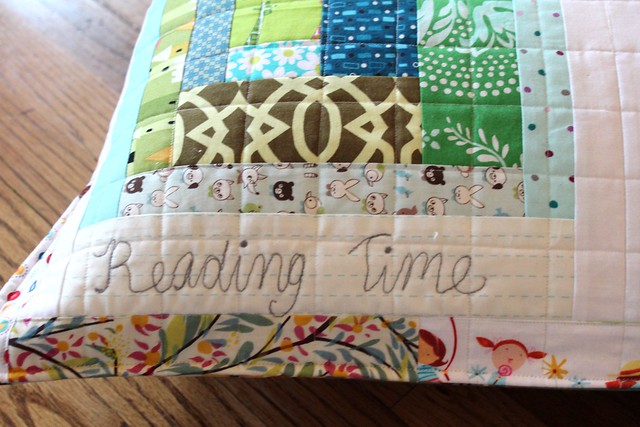
Rainbow Improv Floor Pillow- Reading Time!

 I added a little free motion stitching in this one scrappy print using some gray wool thread.

Rainbow Improv Floor Pillow

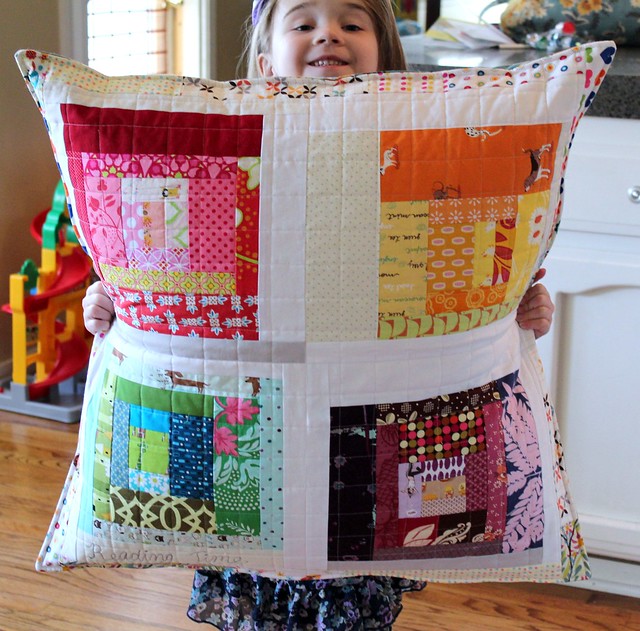
I had Juliana hold up the pillow just to give an idea of how big it really is.  It is often hard for me to tell in pictures what the size of things are.  Also, she loves it and has "claimed" it.

Rainbow Improv Floor Pillow- Back

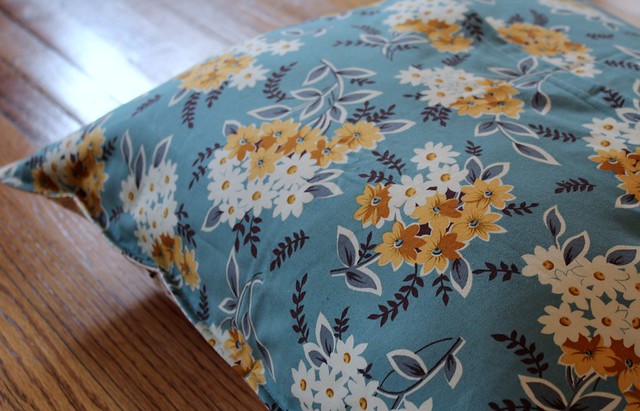
For the back I used this Denyse Schmidt canvas print.  It doesn't really "go" with the front but since this is a floor pillow I wanted something sturdy for the back.

Rainbow Improv Floor Pillow

I quilted this in a grid pattern which I really love, but I forgot how time consuming and monotonous straight line quilting can be!  When I finished these blocks they only measured at 24".  I needed this to fit a 26" pillow so I added a border.  I was going to do a more rainbowy border.  However, I decided to use white prints with splashes of color instead, and I really like the look.

We moved our rooms around a bit after Thanksgiving, and we have a big space by the kids' bookshelf that is just begging for a little reading nook.  I already have the next floor pillow pattern picked out, and I am hoping to make one of Dana's Rollie Pollie chairs as well!

I hope you are all having a wonderful New Year!!!


Related Posts Plugin for WordPress, Blogger...