
Welcome! I am excited to be a part of Mug Rug Madness! Take a peek at my little house mug rug and stop by at Two More Seconds at this post to enter the giveaway to win one of these little guys!

I tried to go with something easy and fun to personalize! I love Zakka style crafts and definitely had this style in mind when I wrote this tutorial. These little mug rugs are quick to whip up. I think they would make great gifts for teachers (make it a school house), kids, grandparents, or anyone else who needs a little house for their mug!
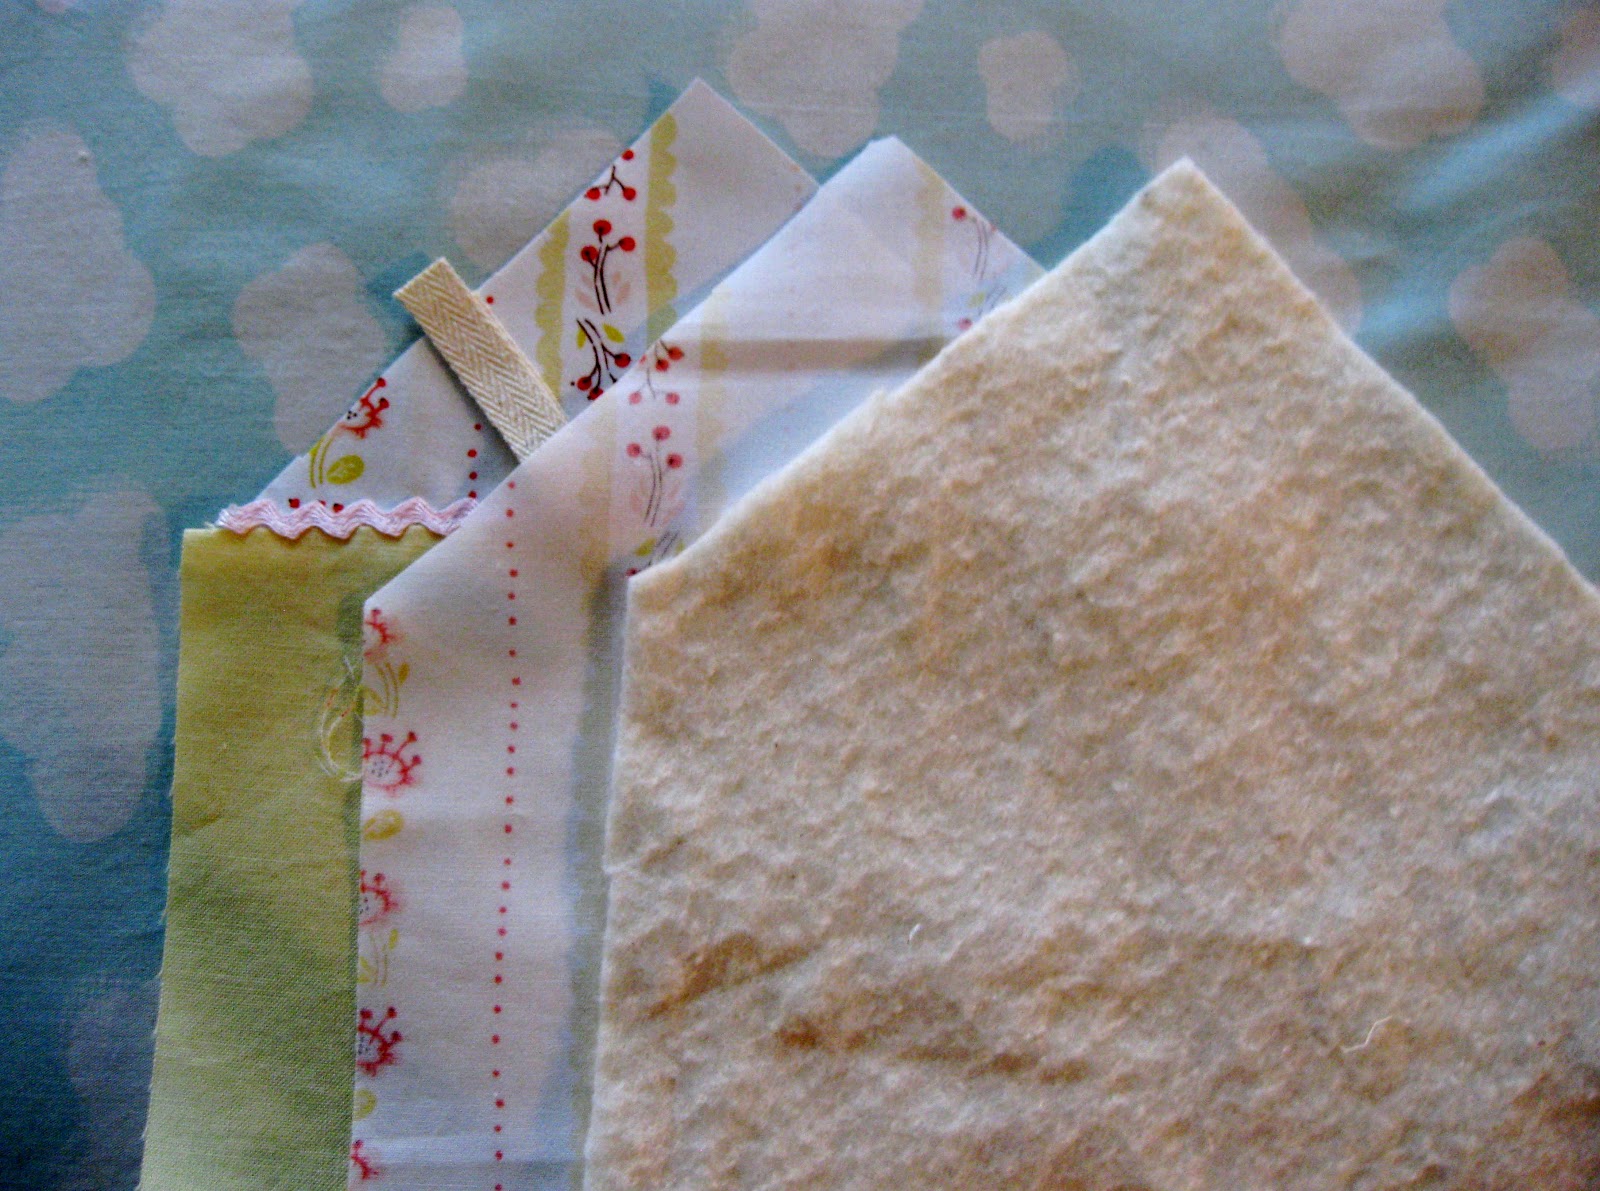
Supplies
Fabric scraps
Batting
Thread
3" Twill tape or ribbon
Lace, ric rac, scraps, or anything other trims you would like to decorate your house.
Fusible web (optional)
All seam allowances are 1/4".
1. Cut one 6.5" x 4.5" rectangle outof your fabric for the main body of the house. For the roof of your house you need to cut out a triangle.

2. Draw a line that is 6.5". This is going to be the base. Mark the middle of your base and draw a line 3.25" perpendicular to your base. Draw the sides of your triangle by joining the ends of the base line to the top of the 3.25" line. Use this pattern piece to cut out your roof.

These are your two pattern pieces you now should have.

3. Now lay your roof on top of your rectangle right sides together and sew together. Press the seam allowance toward the bottom.

At this point if you would like to add some trim at the roof line this is when I add it.
4. Use this front piece to cut out the back piece of your mug rug as well as your batting.

6. Sew together starting at the bottom of the house and leaving a gap of about 2.5" to turn it out.

7. Trim the bulk off the corners of your rug and turn right side out. Press.

7. Now you are going to topstitch around the sides and bottom portion as close as you can to the edge to close the gap that is left.

8. Adorn your house! I left my edges raw and used scraps to add windows and doors and just stitched close to the edge. (I used fusible web on some of the mug rugs to help my scraps stay stable, but they are so small you might not find it necessary!) This is also a great opportunity to use those fun decorative stitches on your machine! Make bushes or flowers. I used a round decorative stitch to make the door knob on my doors. Add bits of lace and ric rac. Use some of your favorite novelty scraps and fussy cut little characters to live in the house. Stamps are also a fun, easy way to add words or names. Have fun with it! Make it as simple or as ornate as you like!

These are so adorable, Meg! What a sweet idea. This tutorial is going on my gift list.
ReplyDeletethese are wonderful! Thank you for sharing!
ReplyDeleteReally sweet, I'll definitely have a go at one of these, thanks
ReplyDeleteThis is a really lovely take on a MR. So much more interesting than the standard rectangle. Beautiful. Jxo
ReplyDeleteThose are the cutest mug rugs ever!!!!
ReplyDeleteThanks for sharing! Your rugs are adorable!
ReplyDeleteThese are just so cute ... Thankyou for sharing such a wonderful tutorial xx
ReplyDeleteFabulous!! Love all the trimmings you've used too. Thanks for a great tutorial.
ReplyDeleteThis is so totally cute! Can't wait to add it to the collection.
ReplyDeleteMy gosh, your mug rugs are cute and very creative. Thanks for the great ideas and how-to.
ReplyDeleteI don't know, if a house can be cute ;-). But these are :-).
ReplyDeleteSo cool! Thanks for the great ideas....piece.
ReplyDeleteThese are the cutest mug rugs I've seen. I love the originality!
ReplyDeleteDonna
dsharper258@msn.com
Muito linda!!!!!
ReplyDeleteliége
What an adorable mug rug. Great tutorial as well. Thank you very much.
ReplyDeleteThese are adorable. Love the rainbow trim on Juliana's!
ReplyDeletethe sweetest mug rugs ever!
ReplyDeleteLovely tute Meg :)
x
Sweetness
ReplyDeleteAdorable! I hadn't thought of making them in shapes (other than rectangles). What a great idea!
ReplyDeleteThose are so unique and cute....love the idea of a different shape, and you have personalized them, as well. Thanks for sharing!
ReplyDeleteJacque in SC
quiltnsrep(at)yahoo(dot)com
Oh now that is so cute, I can't wait to have time to make dozen!!!
ReplyDeleteSO adorable, Meg!
ReplyDeleteI wasn't very enthused about mug rugs until I saw your adorable cottages. Now I want to make some. Thanks for the tutorial!
ReplyDeleteThese would be so cute to make as schoolhouses to give the teachers with a little tin of tea and some cookies. Great idea!
ReplyDeleteSo cute and adorable! I just love it! :)
ReplyDeletethank you! This is too cute, I love little houses!
ReplyDeleteThese look great! I might even try this!
ReplyDeleteLove the house ideas! Sweet!
ReplyDeleteThis is very cute! I have been looking for something different for my daughter who is a teacher of second grade and this just might be the perfect one for her. Thanks so much
ReplyDeleteso so cute! great tutorial. :)
ReplyDeleteThese are darling! I love the cute little houses!
ReplyDeleteI just love stitched houses and your mug rug houses are no exception - my mind is bursting with ideas!
ReplyDeleteThese are too cute! Thanks for sharing!
ReplyDeleteThese are adorable, I'm going to make one this weekend~
ReplyDeleteThese are very cute mug rags!!.It looks great.
ReplyDeleteLove your mug rugs! Thanks for sharing with us!
ReplyDeleteReally sweet little houses! You're so creative! Thanks for the tute!
ReplyDeleteThese are sooooo cute!
ReplyDeleteOkay this is just too clever......and if you like freestyle house well the sky is the limit on what you can do. thanks so much for the inspiration!
ReplyDeleteI will be making these adorable mug rugs.
Please tell us more about the book you reference in your tutorial.
Happy sewing
They are lovely... Thanks for the tutorial.
ReplyDeleteOh, these are so cute!!!
ReplyDeleteThe houses are very nice. That's a great idea to emblish the houses of the Bernadette-Mayr-Quilt which I'm going to make.
ReplyDeleteThank you for sharing. :)
These little houses are so cute! I've made a bunch of them to give as presents, they are posted here on my blog: http://doraquevedo.blogspot.com/2011/09/sim-mug-rugs.html
ReplyDeleteThere's a link to your tutorial! Thank you very much!
Cheers
Dora - Brazil
Lots of thanks for this! Wonderful!
ReplyDeletebonjour,
ReplyDeletetrès mignon ce petit nid et très bon cadeau aussi.
bonne journée
sarvenaz
Vielen, vielen Dank, wirklich wunderschön!!
ReplyDeleteLiebe Grüsse
Josali
Hi Meg,
ReplyDeleteREALLY CUTE!I love little houses and those mug rugs are the best. I love your blog.Thanks for sharing so clear tutorial.
I'll be glad if you visit my blog.
Hugs from Portugal
Ana Lopes
www.lovecraft2012.blogspot.com
Hi Meg
ReplyDeleteThanks so very much. I saved your tute on my favorites a while back - and today was such a treat to find it again. I am making these for sure. A wonderful little gift. I might leave the door with a slit and give a coffee gift card with it. How would that be? Do you think the open seam would just sit back down after the card is removed?
Blessings from Massachusetts.
Hi Jane! Sure- I think that would work as long as the other three sides are sewn down. Just make sure your door measurements will fit the card!
DeleteI just found this via Tipnut and absolutely love it!!!! Thanks for sharing.
ReplyDeleteThat is just a darling House mug rug!!! Thanks for sharing.
ReplyDeleteThat is so very beautiful - thank you for sharing ....
ReplyDeleteHola que tal ???, que hermoso y sencillito tutorial para portar mi taza de té, cafe o lo que se quiera !!!!! felicidades guapa esta genial besos
ReplyDelete