Showing posts with label tutorial. Show all posts

Sunday, April 3, 2011

Patchwork Placemat Tutorial


Supplies
  • fabric scraps at least 3.5" square
  • Backing fabric- piece of fabric 18' x 14"
  • Batting- 18" x 14"
  • fat quarter to make own bias binding or a pack of 1/2" bias binding
All seam allowances are 1/4".

Completed placemat will measure around 17.5" x 13.5".


1. Cut 24 3.5" squares for your patchwork front.  I fussy cut most of my pieces to make sure I got my favorite little characters in there, so I used a 3.5" ruler to center them and cut them out that way. 

 2.  Now lay out your squares and make a pleasing layout.  Try to balance out your colors.  For this one I alternated light and dark fabrics.

3.  Sew  four squares together to make a strip and do this six times.  You can see my rows in the picture above.

4.  Press the seam allowances of the rows in alternate directions.  This makes it easier to match up your seams when you sew the rows together as they will make a little sandwich.


 5.  Sew your six rows together.  Press your seam allowances to one side. This is what your placemat should now look like!

 6.  Take a dinner plate and place it on opposite corners of the top square and trace to make your curve.


7. It should look like this.  Now trace around all four corners and cut to make them rounded.


 8.  Now take your front, batting, and backing fabric and lay them together as shown.  Baste them together to make a quilt sandwich.


9.  Quilt as desired.  For this one I stippled it, but there are no rules for this one!  These are nice and small and perfect for trying different techniques.


10.  Now trim up your backing and batting.  Add your bias binding using your preferred technique.  I like this tutorial on how to make five yards of bias binding out of one FQ, except I cut mine 2".  This tutorial will show you how to add bias binding to rounded corners!

Enjoy your completed placemat!

Wednesday, March 23, 2011

At Home Mug Rug Tutorial

Welcome!  I am excited to be a part of Mug Rug Madness!  Take a peek at my little house mug rug and stop by at Two More Seconds at this post to enter the giveaway to win one of these little guys!


I tried to go with something easy and fun to personalize!  I love Zakka style crafts and definitely had this style in mind when I wrote this tutorial.  These little mug rugs are quick to whip up.  I think they would make great gifts for teachers (make it a school house), kids, grandparents, or anyone else who needs a little house for their mug!


Supplies

Fabric scraps
Batting
Thread
3" Twill tape or ribbon
Lace, ric rac, scraps, or anything other trims you would like to decorate your house.

Fusible web (optional)

All seam allowances are 1/4".

1.  Cut one 6.5" x 4.5" rectangle outof your fabric for the main body of the house.  For the roof of your house you need to cut out a triangle. 


2. Draw a line that is 6.5".  This is going to be the base.  Mark the middle of your base and draw a line 3.25" perpendicular to your base.  Draw the sides of your triangle by joining the ends of the base line to the top of the 3.25" line.  Use this pattern piece to cut out your roof.

  
These are your two pattern pieces you now should have.


3.   Now lay your roof on top of your rectangle right sides together and sew together. Press the seam allowance toward the bottom.


At this point if you would like to add some trim at the roof line this is when I add it.


4.  Use this front piece to cut out the back piece of your mug rug as well as your batting.


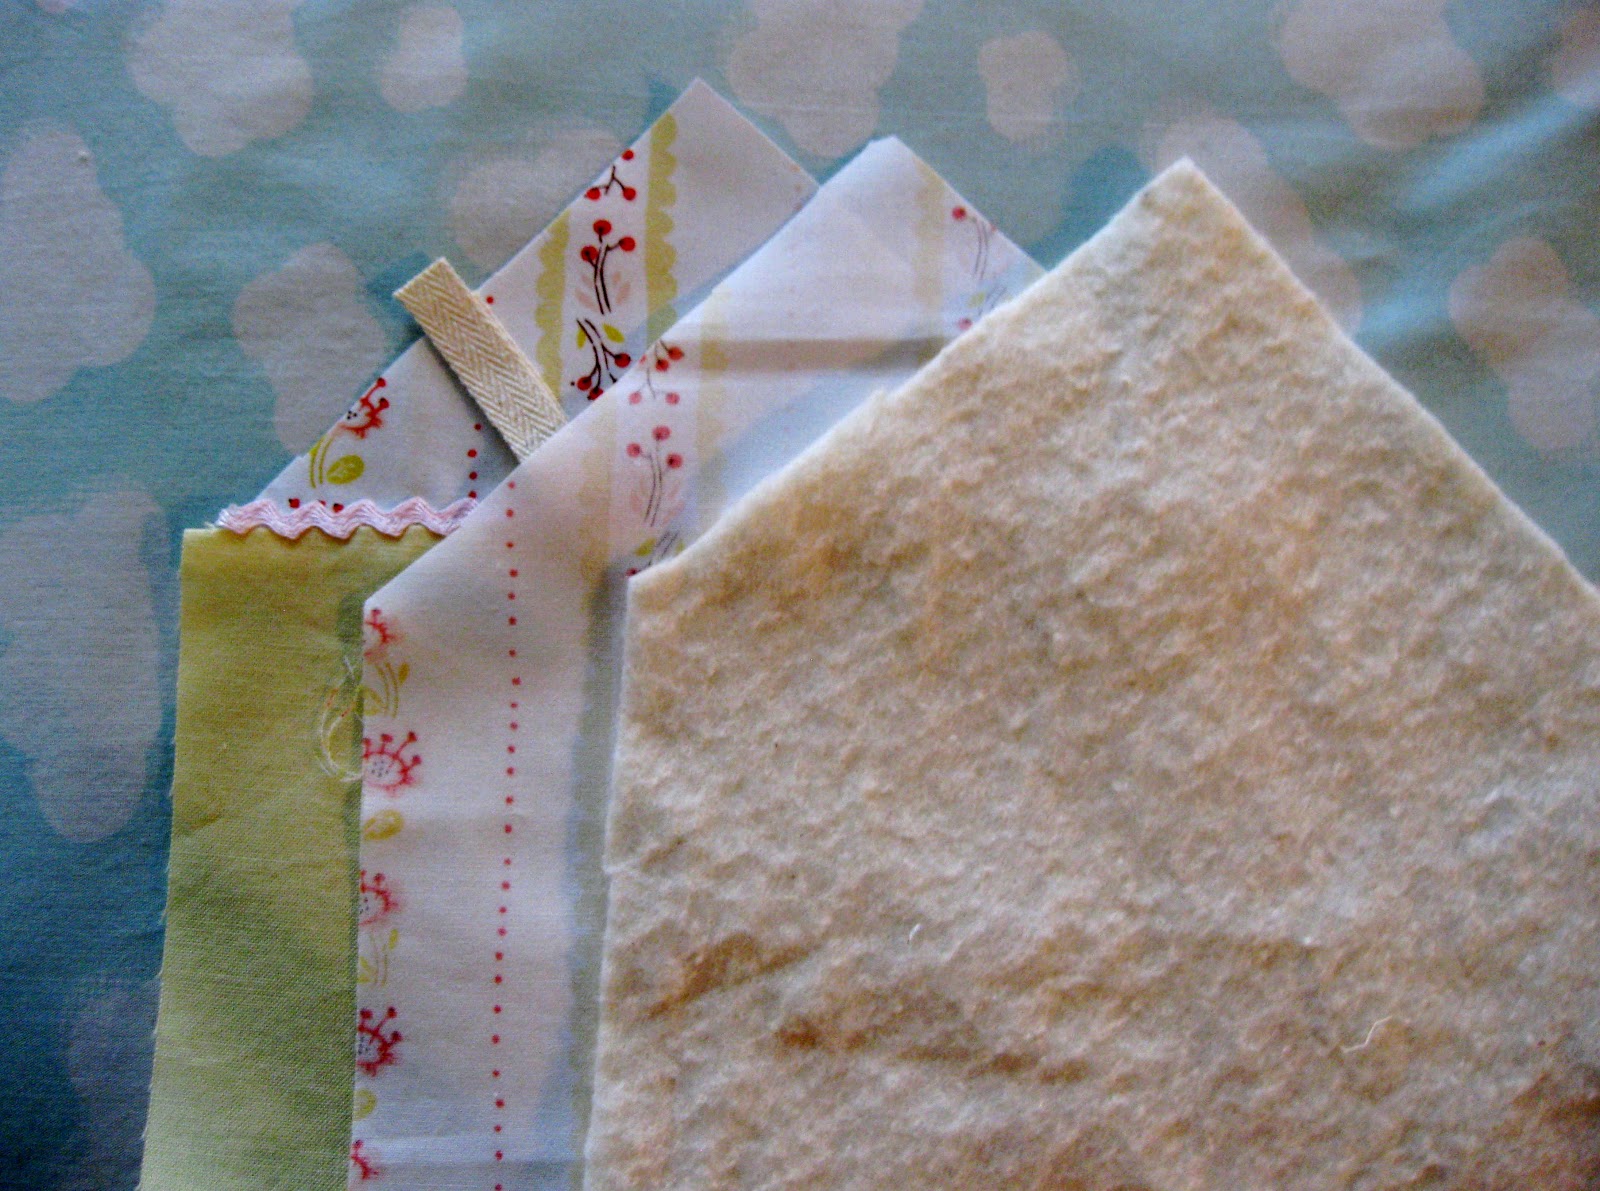
5.  Take the front, back, and batting and sandwich then together so that the front and back are right sides together and the batting is on top.  Fold your 3" piece of twill tape in half and place it on one of the sides of your roof between the front and back pieces and angled towards the center.

6. Sew together starting at the bottom of the house and leaving a gap of about 2.5" to turn it out.


7.  Trim the bulk off the corners of your rug and turn right side out.  Press.


7.  Now you are going to topstitch around the sides and bottom portion as close as you can to the edge to close the gap that is left.


8.  Adorn your house!  I left my edges raw and used scraps to add windows and doors and just stitched close to the edge.  (I used fusible web on some of the mug rugs to help my scraps stay stable, but they are so small you might not find it necessary!) This is also a great opportunity to use those fun decorative stitches on your machine!  Make bushes or flowers.  I used a round decorative stitch to make the door knob on my doors.  Add bits of lace and ric rac.  Use some of your favorite novelty scraps and fussy cut little characters to live in the house.  Stamps are also a fun, easy way to add words or names.  Have fun with it!  Make it as simple or as ornate as you like!


Thursday, July 15, 2010

The Simple Reversible Skirt Tutorial!


I finished it! Yay! You can now make your own reversible skirt for that special girl in your life!
This skirt is very easy to put together and all you need is a couple of 1/2 yards! The pockets are the perfect way to add a little pizazz to one side!

You can download the PDF of this tutorial HERE.

Please let me know and share a photo if you do use this tutorial! I have started a flickr group here.

Let me know if you have any questions!
Related Posts Plugin for WordPress, Blogger...